
Elevate Business Success with JSuitesCloud CRM
CRM Fusion: Amplifying Success with Seamless Customer Interaction Integration Brilliance!
Features

Effortless Client Addition
- Access CRM seamlessly via sidebar or relevant icon/button.
- User-friendly initiation of a new client within CRM.
- Comprehensive Client Information Form for detailed input.
- Quick confirmation of successful client addition.
Streamlined Client Management
- Easy navigation to "Manage Clients" for a clear client overview.
- Efficient organization of clients for quick reference.
- User-friendly interface to view, edit, and update client details.
- Confirmation messages for successful client management actions.


Dynamic Client Grouping
- Accessible sidebar on the main dashboard for quick entry.
- Intuitive grouping options under "Group Clients."
- Create, edit, and manage client groups effortlessly.
- Add clients to chosen groups for enhanced organization.
User-Friendly Group Management
- Simplified access to "Group Clients" within CRM.
- Add, edit, update, and delete client groups with ease.
- Options for creating new groups and modifying existing ones.
- Clear instructions for adding clients to specific groups.


Comprehensive User Guidance
- Clear step-by-step instructions for every process.
- Assistance through the CRM's Help section for additional support.
- Accessible contact information for system administrator assistance.
- Encouragement to explore and refer to the user-friendly manual for further clarity.
How to use the CRM
Log in
First things first, let’s get you logged in.
- Access the system by entering your credentials.
- Locate the sidebar on the left-hand side to begin your CRM journey.

Accessing CRM
- Go to the main application interface and locate the “Sidebar” or relevant icon/button for CRM access.
- Click on “CRM” within the sidebar to enter the Customer Relationship Management module.
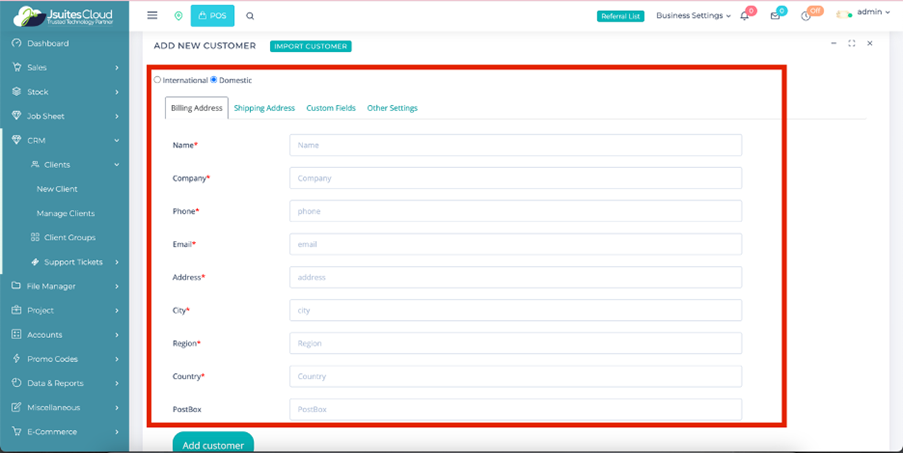
Adding a New Client
- Within the CRM interface, find and click on the “New Client” button or link to initiate the client creation process.
- Fill in the client’s details in the provided form, including name, contact number, email address, address, company name (if applicable), and optional notes or comments.
- Save the client information by clicking “Add Customer” or an equivalent action.
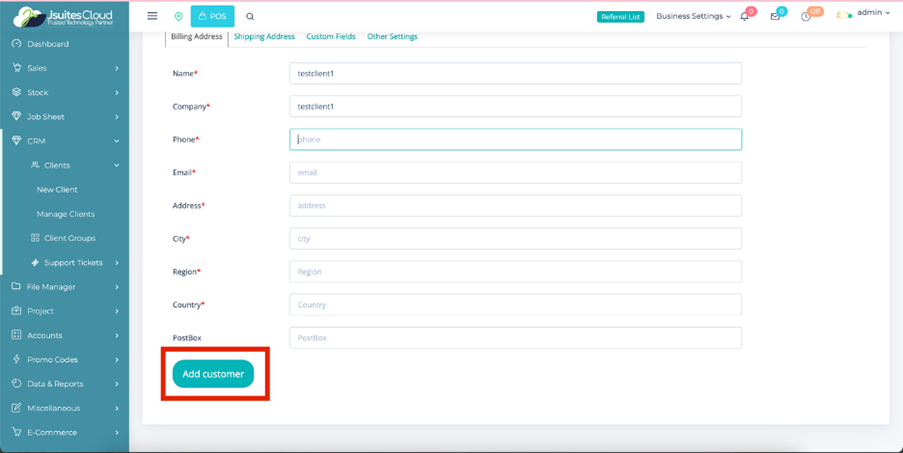
Confirmation and Review
- After saving, review any confirmation message to ensure the successful addition of the new client.
- Double-check the entered data for accuracy and completeness before finalizing.

Manage Clients
- Navigate to the “Manage Clients” section within the CRM to view and manage your client list.
- Access the newly added client’s information and perform actions such as viewing, editing, or deleting as needed.
Client Groups
- Access the sidebar and click on “Group Clients” to work with client groups.
- Create a new group by clicking “Add Group” or select an existing group to edit, update, or delete.
- Group clients by navigating to the “Group Clients” section, selecting a group, and associating clients with the chosen category.
PREVIOUS
NEXT